iPhone Mockup in Figma Tutorial.
With the following step-by-step guide, you will learn
how to create mockup in Figma.
Step 1 – Start with Frame.
Add new artboard with color what you like. For exemple:
- Fill: #E1E3F0

Step 2 – Creating Shell.
Draw simple shape with rounded corners:
- Width: 415
- Height: 852
- Corner Radius: 40px

Step 3 – Adding Drop Shadow Effect.
Add Drop Shadow to Rectangle:
- X: -6
- Y: -6
- Blur: 24
- Opacity: 16%
- Color: #373CAA
Step 4 – Adding Inner Shadow Effect.
Add inner shadow to rectangle with the following settings:
- X: -6
- Y: -6
- Blur: 24
- Opacity: 20%
- Color: #595DBD

Step 5 – Adding Screen Rectangle with Unibrow.
a) – Dublicate first shape and paste upon rectangle with shadow:
Make it:
- Width: 375px
- Height: 812px
- Color: #595DBD
- Corner Radius: 30px

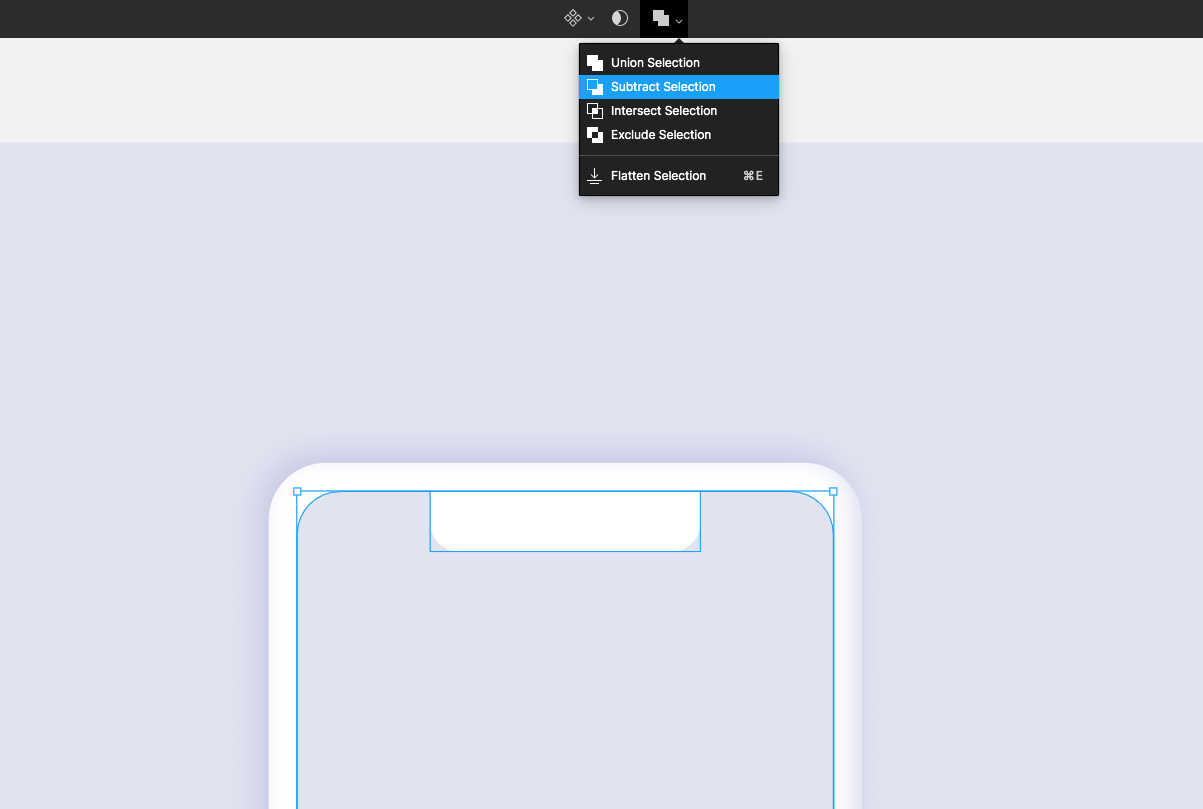
b) – Draw new rectangle for unibrow.
Make it:
- Width: 189px
- Height: 42px
- Corner Radius: 20px

c) – Make Subtract Selection with Second Rectangle.
Finally – Add Your Design.

?️ Ciao!
More From iMockups:
TOP 5 Pagination UI Design
Save you time looking for the best solution, show best examples to make beautiful pagination UI design!
Creating Stunning Mockups for Your Designs: The Best Free Mockup Tools and Resources
Create stunning mockups for your designs with these free mockup tools and resources. Check out Mockup Builder, Mockup World, Placeit, Smartmockups, and iMockups to get started.